Now that we wrapped up this year’s Amnesia Fortnight (which is the name of Double Fine’s public game jam) and released the prototypes I wanted to share my thoughts on adding Oculus Rift support to ‘Mnemonic’. Some of you might know that I’m personally very excited about the current developments in VR which is why I pitched a sci-fi exploration game called ‘Derelict’ that would have been developed for the Oculus Rift from day one.
Even though it didn’t get picked in the end I was still lucky enough to work on VR for Derek Brand’s film noir inspired exploration / adventure game ‘Mnemonic’ and I think it turned out great! In this blog posts I will shed some light on some of the technical and non-technical aspects of adding support for the Oculus Rift to the prototype.
Obviously I didn’t do all the work myself and the VR version of ‘Mnemonic’ would not have been possible without major contributions from Brandon Dillon (@Noughtceratops) and Matt Enright (@ColdEquation)!
The following quick presentation introduces the topic in five short minutes:
Game design
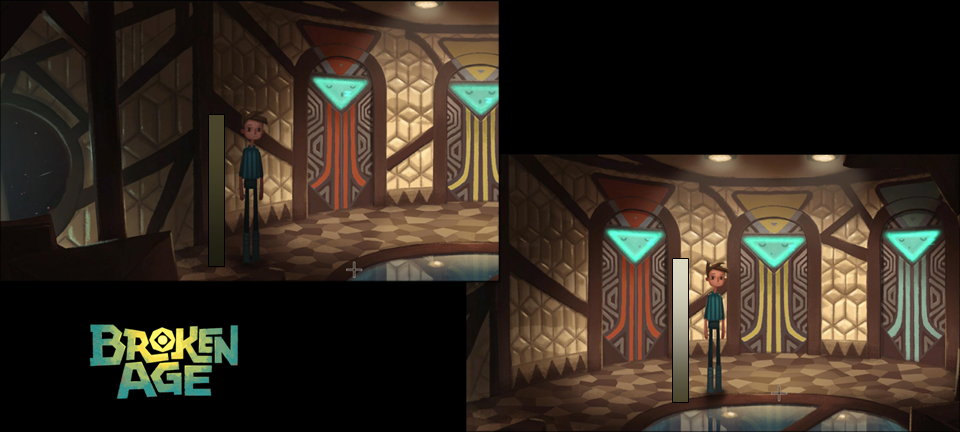
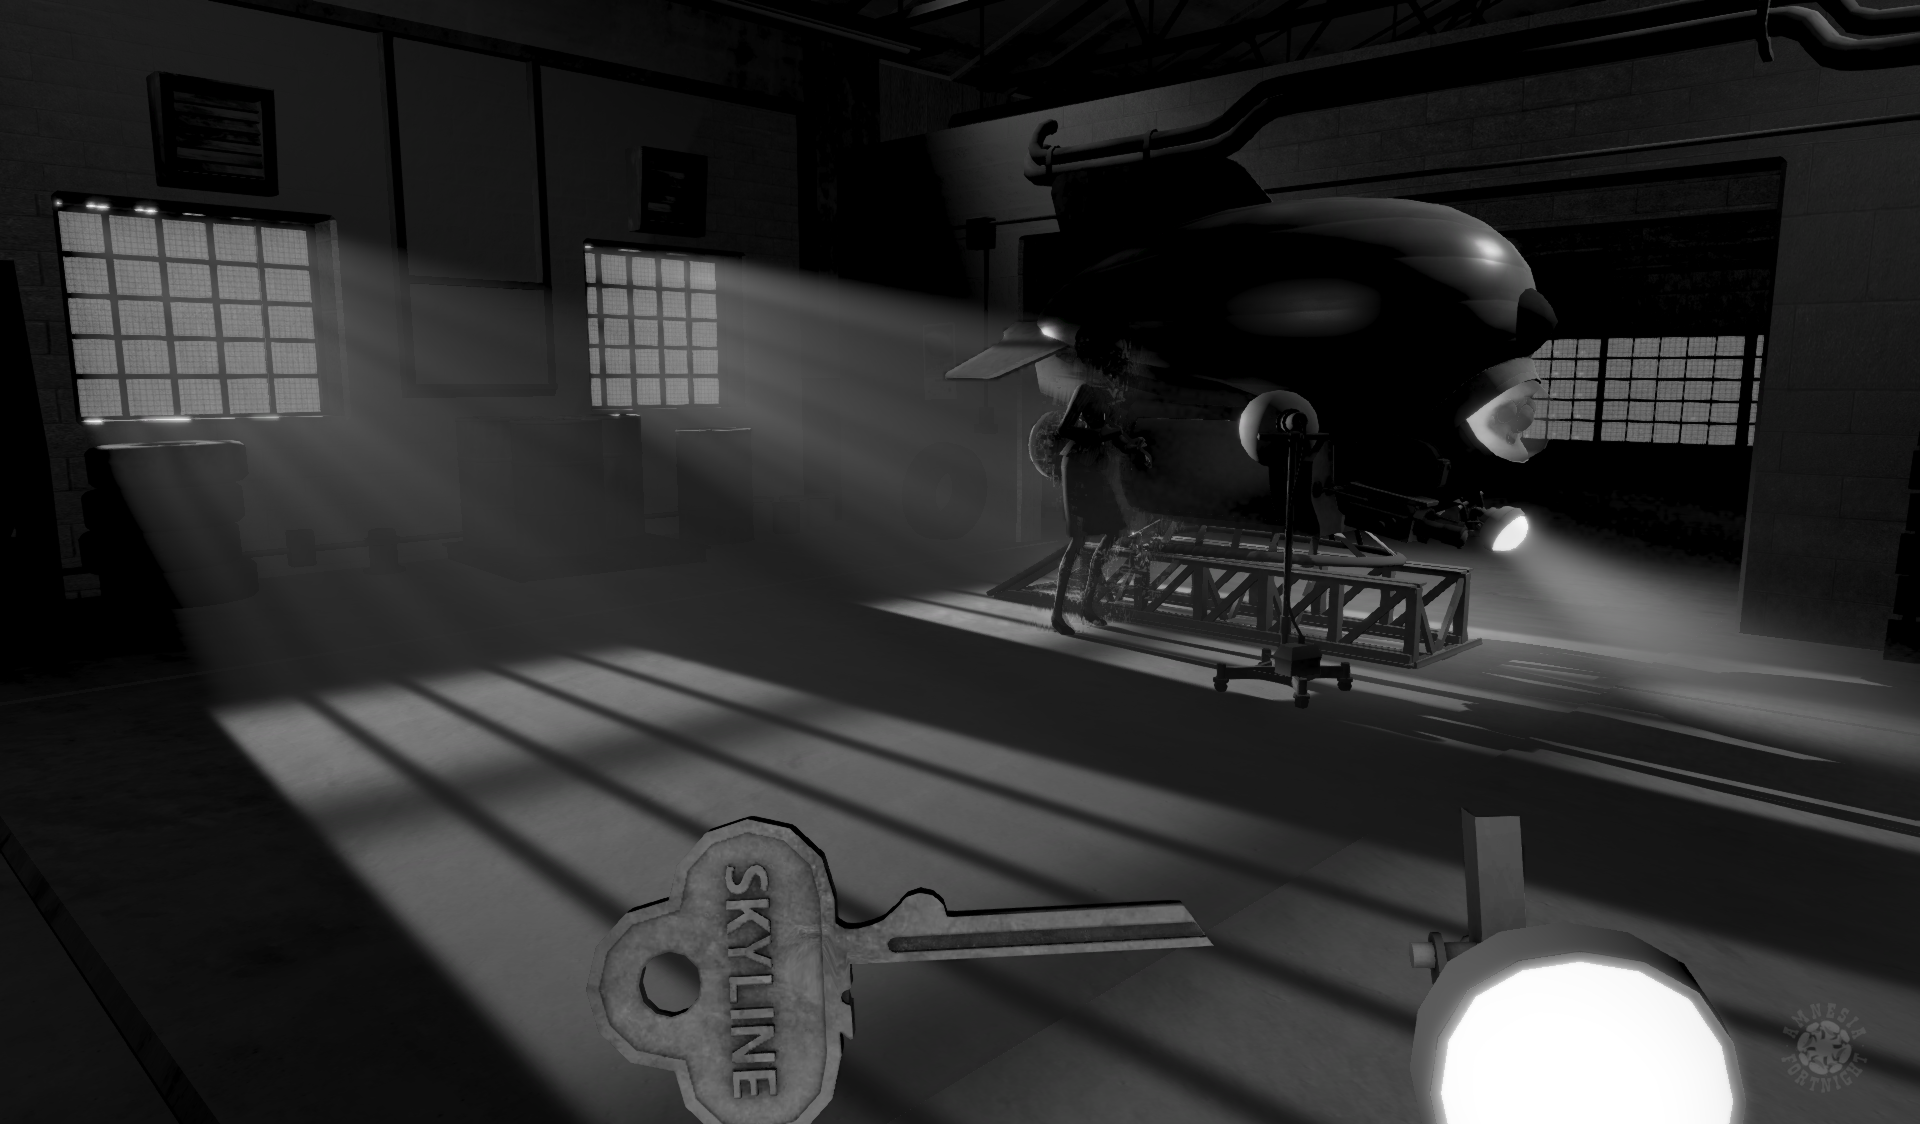
In ‘Mnemonic’ you have to discover your past by entering the surreal world of your memories. As you explore different events you can restore more memories by solving adventure-game style puzzles which will eventually lead you to a dark secret. I think the team definitely nailed Derek’s vision of a film noir art style. The game is rendered (almost) entirely in black and white and looks stunning and that the prototype was created in only 2 weeks still blows my mind.
The design of ‘Mnemonic’ is a great fit for the Oculus Rift since the game is slow paced and doesn’t require fast or unnatural player movement (e.g. strafing, jumps). The core mechanic is to look at and interact with interesting things, which works very well even with current generation of VR headsets. The fact that you are exploring memories also helps the VR experience, because the brain does not expect 100% realistic behavior from the game world (e.g. ‘why can’t I push that barrel’).
One thing I wish we could have done is to give the main character a (virtual) body since it would have helped to increase the feeling of immersion by creating a stronger connection between the player and the virtual alter ego. In one of the memories you are sitting in a car and it really feels weird to see the seat instead of a body when looking down.
I think the finished result proves the point that you have think about VR from the beginning in order to create a great experience. Porting the design of a game to VR after it is done will never be as successful as incorporating it from the start.
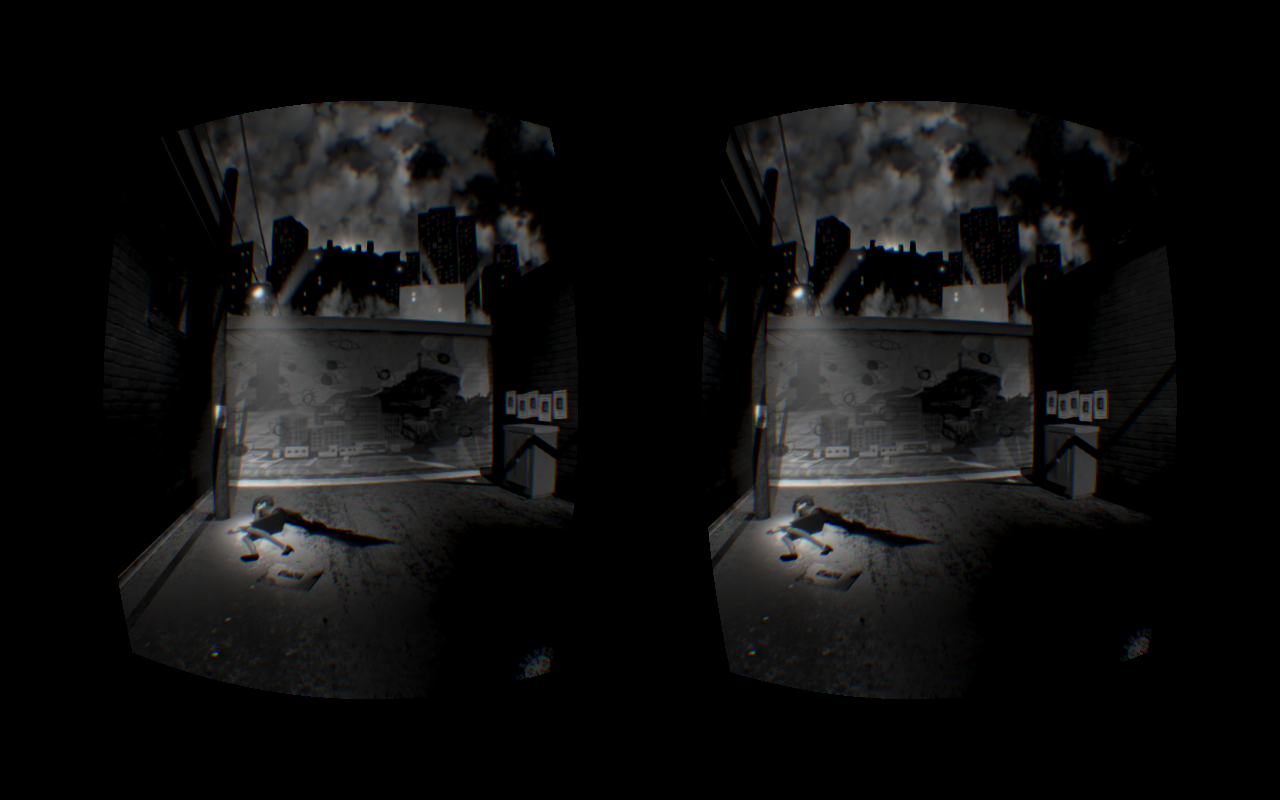
Mnemonic in VR mode
Adding VR support to our game engine
I originally integrated Oculus Rift support to ‘Autonomous’ a while ago in my spare time, because I wanted to know how complicated it would be to add such a feature to a preexisting and relatively complicated code base.
‘Autonomous’ is a first-person game that lets you build and program autonomous robots in a cool 80s inspired sci-fi world. The game was Lee Petty’s pitch for Amnesia Fortnight in 2012 and I contributed to the prototype as a graphics programmer. If you have a Leap controller you can check out the game here: http://autonomousgame.com/
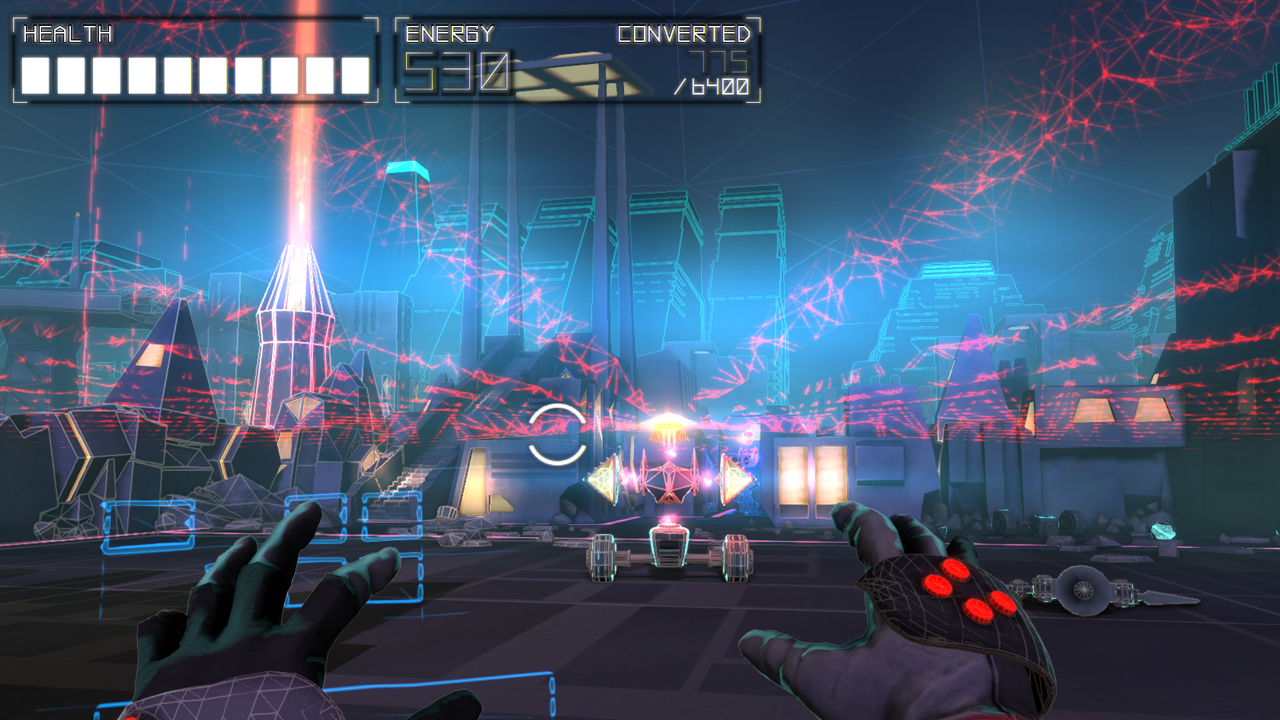
Autonomous
In order to add Oculus Rift support to our proprietary ‘Buddha’ game engine I had to first solve the problem of rendering the current scene for each eye. Since ‘Buddha’ uses immediate mode rendering I was able to draw the scene twice by simply duplicating the frame data and offsetting the camera for each eye.
I ran into an interesting problem with our implementation of directional sun-light shadows though. Since ‘Buddha’ was originally developed for ‘Brutal Legend’ it uses cascaded shadow maps in order to provide high quality shadows at varying distances. The cascades are computed by splitting the view frustum into multiple slices, but since the frustum for each eye were slightly different the resulting shadow maps caused disparity between the left and right eye.
This may seem like a minor problem, but the differences were big enough to create discomfort when playing the game. It took me a while to figure out what was going on, but in the end I was able to identify the discrepancy by performing the ‘left-eye-right-eye-test’: Close the right eye and look at the scene, then open the right eye and close the left eye and compare the rendered results. Any visual difference that is not directly connected to the camera offset is a VR bug!
My solution for this problem was to perform all shadow calculations in the space centered between both eyes. Due to complications, which are beyond the scope of this blog post, it wasn’t possible to cache the shadow maps for the second frame, so there is definitely some room for future improvements.
The rest of the integration was relatively straight forward and in the end ‘Autonomous’ looked like this in VR mode:
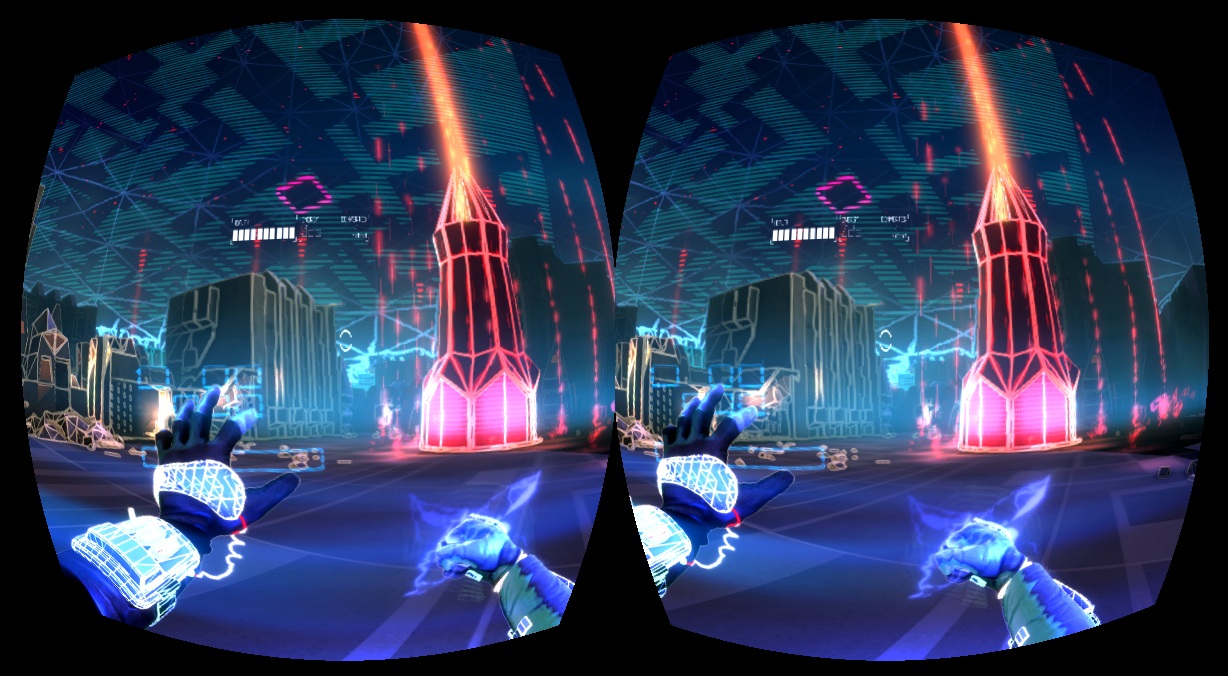
Autonomous in VR mode
Integrating VR into Mnemonic
Adding to support for the Oculus Rift to ‘Mnemonic’ was straight forward using the VR integration mentioned above (especially after Brandon cleaned up my experimental code). We simply retrieve the orientation from the HMD and apply it to the FPS camera. The user is also able to rotate the camera left and right with the mouse (or game-pad), in order to make it possible to reorient the main character.
Initially there were plans to add cutscenes to the prototype that would take away camera control from the player, but we managed to convince the team that this would make people feel sick and therefore break the VR experience. In the final prototype the player has full control over the orientation of the camera at all times and I think it definitely helps to prevent nauseousness (aka VR sickness).
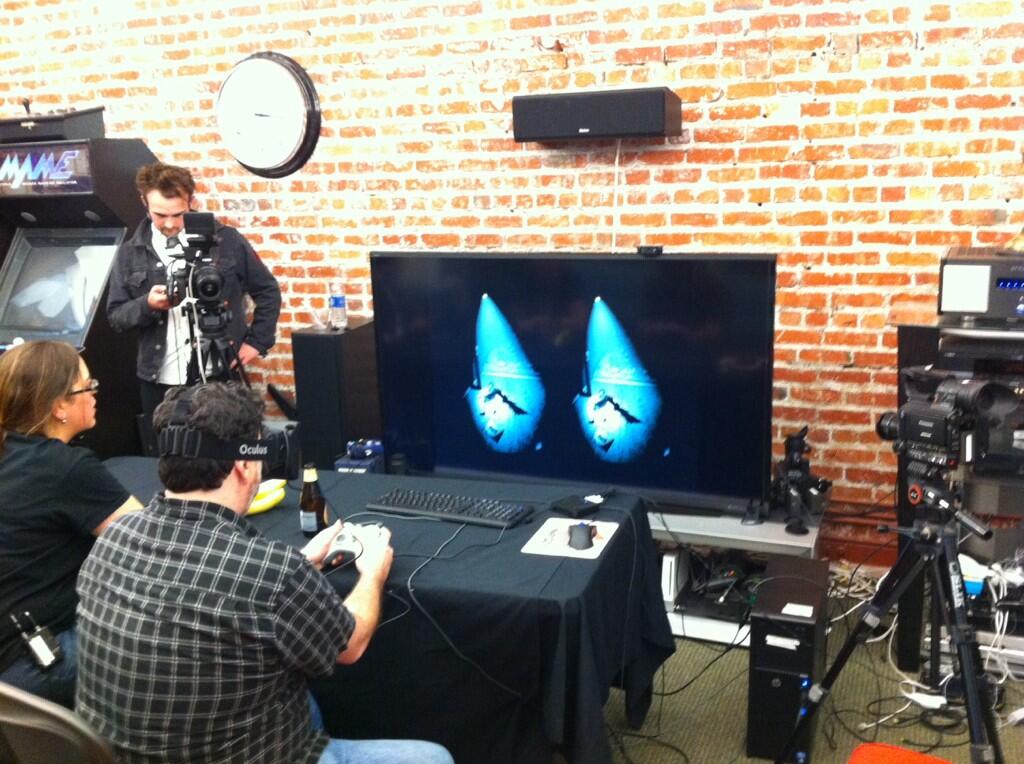
Here is a picture of Tim playing the ‘Mnemonic’ prototype in VR mode using the Oculus Rift:
User interface design
Traditional 2D UI doesn’t work well in VR, which is a lesson I had previously learned when adding Oculus Rift support to ‘Autonomous’. The main problem is that you can’t simply blit the UI on top of the scene. Drawing a 2D element at the same screen-space location for both eyes essentially means that the UI is infinitely far away. However since it is supposed to be on top of everything else the brain can’t really make sense of what it sees.
For ‘Autonomous’ I used the solution described in Joe Ludwig’s excellent paper about adding VR support to ‘Team Fortress 2’. The idea is to draw the UI as a camera-attached plane which ‘floats’ in front of the camera. Since the plane has a real distance to the camera each eye will see it at a slightly different screen-space location and the brain will therefore interpret it correctly. Readability of the UI is still problem, but that is a story for another day…
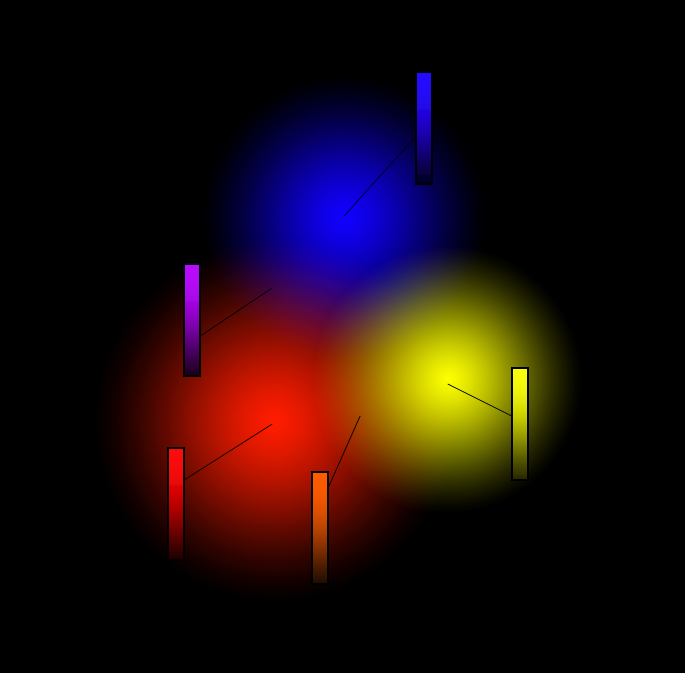
For ‘Mnemonic’ we decided to avoid 2D UI entirely. Fortunately the game doesn’t require menus and we only had to find a solution for the inventory. Items carried by the player are represented by real 3D models that are located on a ring around the camera. This way the inventory items are rendered as part of the regular scene and show up at the correct location in VR. This approach works very well and I would like to explore it further in a future project.
3D inventory in Mnemonic
Post effects and other screen-space problems
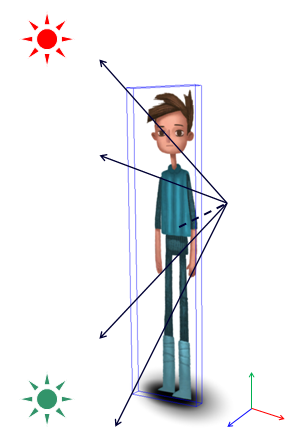
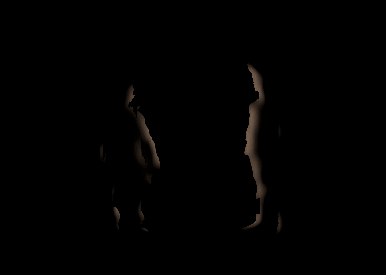
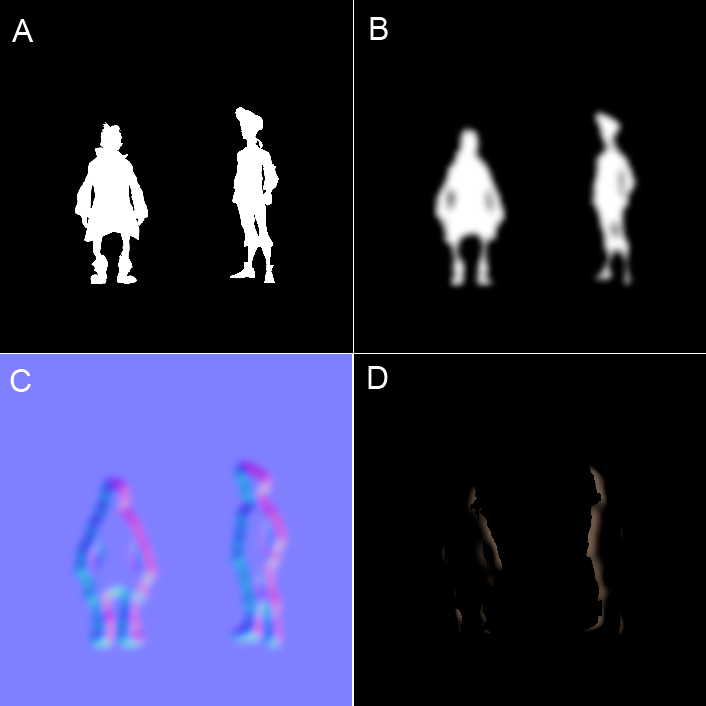
Image post-processing of the rendered scene is a pretty standard (and useful) technique in games these days. Typical post effects include color correction, edge darkening (aka vignetting), anti-aliasing, blooming or depth-of-field blurring. These operations are usually applied in screen-space which makes them problematic for the same reason that 2D UI doesn’t work well in VR.
Unless the operations are spatially independent (e.g. color correction) it is important to take the interpupillary distance into account when rendering the effect. In ‘Mnemonic’ we offset the texture coordinates of extra textures used during the image post-processing step.
In the prototype the player is able to return to the ‘memory hub’ at any point by pressing a button and the transition is represented by an animated Rorschach image. By applying a horizontal offset to the Rorschach texture the effect essentially gets rendered at a virtual depth (much closer than infinity), which is important since the effect is faded in (and out) on top of the scene.
While this works alright in the prototype a better approach will be necessary for a full game. Drawing these kinds of effects in 3D space (just like the inventory) seems to be the only real solution for this problem. I’d love to experiment with camera-attached particles or similar techniques.
Of course there are effects that can’t be represented by 3D geometry (e.g. vignette) and more research will be necessary to figure out how to do implement them in VR.
Conclusion
I think the potential of VR to create an immersive experience for the player is very exciting, but creating an excellent VR experience isn’t trivial. In his talk at the Steam Dev Days Palmer Luckey (the CEO of Oculus) said that you really have to design a game with VR in mind and I very much agree with him. Adding VR support later on is very difficult and will require quite a few changes.
The games industry is only at the beginning of figuring out how to effectively use VR and I think next few years will be very interesting and exciting. I’m very grateful that I was able to experiment with VR during this year’s Amnesia Fortnight and I really hope that I can come back to it and work on a full game.
I’m very proud of what we achieved with ‘Mnemonic’ and I hope you will check out the prototype (especially if you own an Oculus Rift). You can still get access to all of the games on Humble Bundle.
Post scriptum
If you made it this far and you are still not tired of my ramblings, then you might also want to check out the excellent documentary about Amnesia Fortnight made by 2 Player Productions. You can find the entire playlist on YouTube.
I’m talking a bit about adding VR support to ‘Mnemonic’ in the episodes about day 9 (starting at 17:18) and 10 (starting at 37:44):